
by | Apr 12, 2020 | exercise, quickie
You can use a kitchen timer to keep track of your intervals. If you are unclear what the exercise is I am describing, please look for a video or arrange for an in-person tutorial. Please consult your doctor before engaging on any fitness regime. Remember to go for...
by | Apr 5, 2020 | Uncategorized
Bit of a different format for this week’s quickie. You can use a kitchen timer to keep track of your intervals. I suggest counting your reps out loud to help ensure you are breathing and so you don’t loose count. If you are unclear what the exercise is I...
by | Mar 29, 2020 | exercise, quickie
Today’s workout is all about the fabulous number 30. Try to complete the 30 repetitions of each exercise without a break, but listen to your body too. Record how long it takes you to do one round and then challenge a friend to up the ante! If you are unclear...
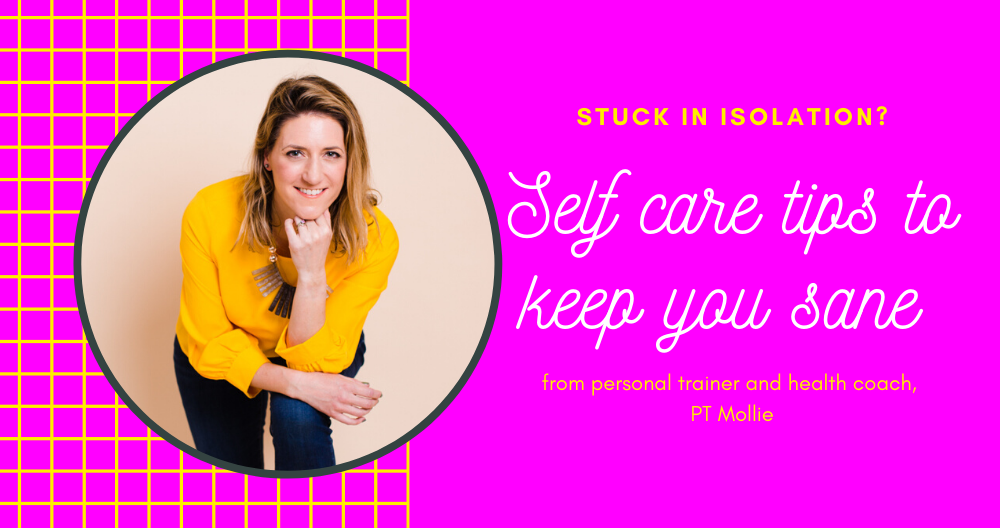
by | Mar 23, 2020 | self care
You may not know that not only am I a personal trainer, I am also a health coach and have a certificate in mindfulness. This allows me to take a holistic approach when coaching clients so we can work on all aspects of happiness, not just fitness. Working at home...

by | Mar 22, 2020 | exercise, quickie
You can use a kitchen timer to keep track of your intervals. If you are unclear what the exercise is I am describing, please look for a video or arrange for an in-person tutorial. Please consult your doctor before engaging on any fitness regime. Remember to go for...

by | Mar 18, 2020 | happiness, health, holistic
NEW START DATE OF 15 APRIL 2020. Sign up today. Sadly, many people around the world will soon find themselves at home self-isolating, if they are not already. Many of the people I have talked to are concerned they will get bored and have ‘nothing to...
by | Mar 15, 2020 | exercise, quickie
If you have a jump rope handy, you can use it in the workout. You can also pretend to jump rope by jumping up and down and circling your wrists. A kitchen timer or app will be handy to keep track of your intervals. If you are unclear what the exercise is I am...

by | Mar 13, 2020 | recipe
This lasagna recipe is adapted from the The Better Homes and Gardens New Cookbook Spinach Lasagna. This is also where my recipe for banana bread is from. I love veg so we throw a little more in. You can estimate the vegetable portions or invest in measuring cups....

by | Mar 11, 2020 | health, travel
With Coronavirus all over the news and a trip to Japan recently cancelled due to concerns the virus will spread, my husband asked me the other night if we should wear masks when we go on our re-booked holiday to the USA. Let me be clear that I am not a medical...

by | Mar 8, 2020 | exercise, quickie
Today’s quickie is based on using a set of stairs. For this, you will need to have some balance and coordination. When choosing your set of stairs, be sure to choose one that has a handrail. The exercises listed are only for going UP the stairs. Be slow and...