Saving the Earth was a big concern of mine growing up. I wanted to recycle everything and always turned the lights off. ’50 Simple Things You Can Do To Save the Earth’ was a favourite book of mine. Much to my mother’s dismay, I even brought backing recycling from my university to home (a 6 hour drive away. I also brought a lot of laundry).
Reducing my impact on earth and it’s resources has continued to be important thread in my life. I have carried a reusable water bottle since uni and try to cycle or carpool when I can. Living with a Brit, I even got in the habit of hanging our laundry out to dry in the summer time in Michigan (we have no choice now as very few people in the UK have a dryer).
When I saw the opportunity to review the Wonderbag,I was intrigued. Firstly, because it can heat the pot for up to eight hours without electricity and secondly because it helps to empower women in third world countries. I was pretty much sold on both of those factors but want d to try it out myself.
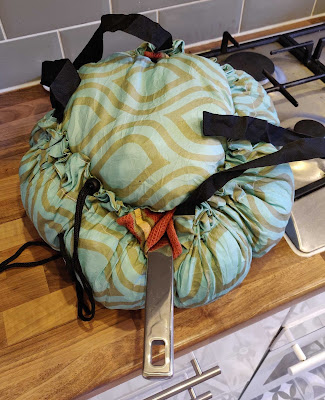 |
| Wonderbag in action |
The Wonderbag was developed by Sarah Collins with inspiration from her childhood in South Africa. Frequent blackouts meant her family would use couch cushions to keep meals warm. Years later, Collins invented the Wonderbag. Its foam stuffing allows food brought on a boil by conventional means to continue to cook for for up to 12 hours. The impact of this means women spend less time foraging for firewood and less time cooking over open flames. The smoke from these flames can be toxic and severely impact their heath.
We don’t have room for a slow cooker (or “Crock Pot” as we call it in the USA) because we have a small flat. My husband loves to cook anything that requires only one pot, so he is missing out on a lot of cooking opportunities. We have a few batch cooking staples, such as veggie chili and a chicken dish from Well Fed 2. I figured since I was trying out the Wonderbag, I might as well try out a new recipe and share it with out with you.
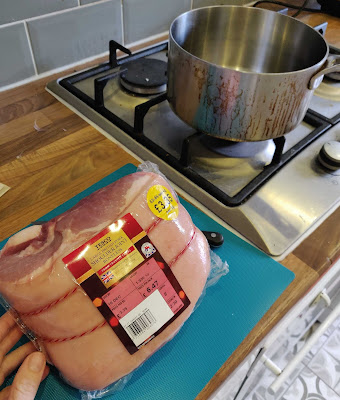 |
| Not sure this is going to fit. |
After looking on the internet for inspiration, I decided on a slow cooked pork with Italian seasoning. We don’t really eat ham or pork and thought it would be a nice change from chicken. I bought the smallest pork roast I could find at the shop and got to work.
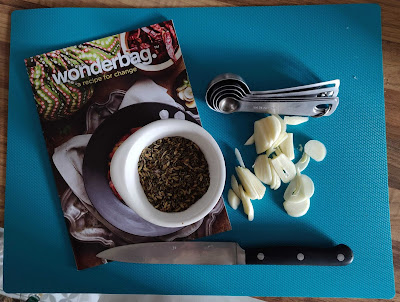 |
| Seasoning and garlic. This will be yummy! |
I made three mistakes when preparing this meal. First, my pork roast was too big for the pot, which meant the lid did not seal all the way. This affected how long the food needed to cook for on the stove top and how involved I needed to be. Second, the only pot that the roast fit in and itself fit in the Wonderbag had a handle on it. This will affect the efficiency the Wonderbag insulation has. I firmly believe that these two errors impacted my cooking experience.
To prepare the pork, I dried it off with a paper towel and then tried to slice the top in several places to create pockets for sliced garlic. My roast was about two kilos and I used three large garlic cloves.
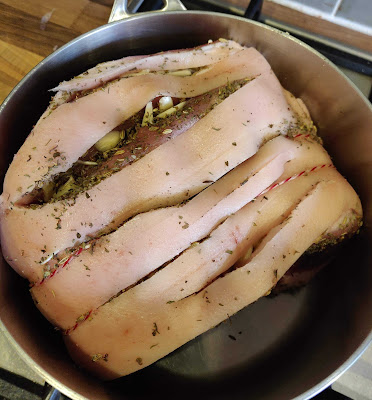 |
| Roast prepped with seasoning |
My seasoning was one teaspoon of dried basil, oregano and thyme mixed with half teaspoon salt and half teaspoon pepper. I mixed this combo in a small bowl and then rubbed all over the pork. You can use any seasoning combination you like to create flavour you will enjoy.
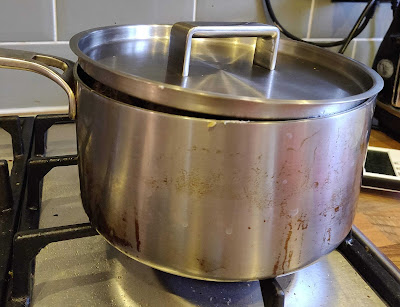 |
| Lid ajar means the cooking is less efficient. |
Once seasoned, I put the entire roast into a saucepan with lid and cooked for 20 minutes on medium heat. As I saw the lid was slightly ajar, I decided to cook it for another 20 minutes. The Wonderbag recommends having a meat thermometer handy to see if meat is heated through. This was my third mistake because we don’t have one.
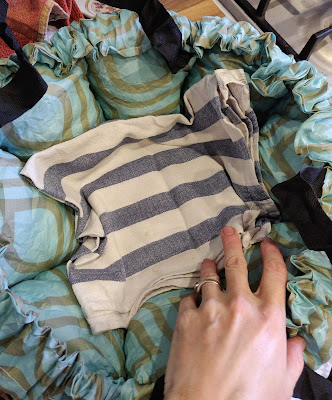 |
| Tea towels lining the Wonderbag |
After 40 minutes on the stove top, I put the pot in the Wonderbag, which I had lined with a few towels to avoid the inside of the bag from melting. I weighed the lid down with a kilo of salt to hopefully keep the heat in. Then I took the dog out for a walk. Two hours later, I checked the pot and it was still warm so I left it for another hour. After that, I took the meat out and cut it down the middle with a bread knife. The inside was still a bit pink (again, no meat thermometer), so I returned the roast to the pot and cooked for another 20 minutes, holding the lid down for the last ten minutes (the lid still wouldn’t close).
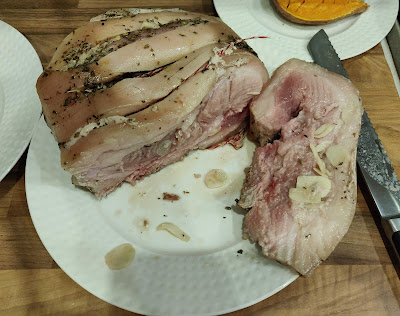 |
| Nearly cooked all the way through. |
By this point, the inside looked cooked, so I sliced myself a piece and left the rest in the pot with lid on and heat source off. Once I finished my dinner (it was super yummy!), I carved up the rest. Half went into the fridge and half into the freezer. I decanted the juice from the pot into a small Tupperware to use as gravy. There wasn’t much though. My husband used it all for one serving (I didn’t mind as I am not a fan of gravy). If you like gravy, you might want to make some additional gravy.
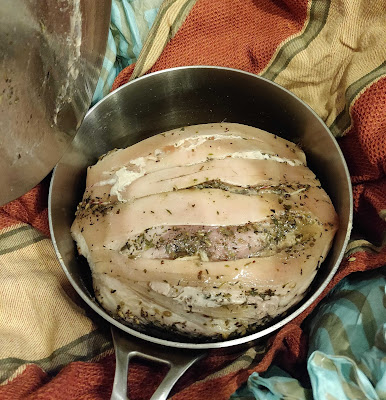 |
| It was delicious! |
A week later, we defrosted the frozen pieces. They looked pink when frozen but were grey by the time they were room temperature. Overall I am pleased with how my experiment went given I was missing several keys items (a pot without handle and a meat thermometer). I am definitely going to get a proper pot for using the Wonderbag but am not sure if a meat thermometer will get much use. The Wonderbag will be perfect for making chili and stews this winter, and maybe even mulled for long winter walks and when we host a big dinner party (when we get a bigger flat).
If you have any ideas on what we should cook with the Wonderbag next, please let me know in the comments below.
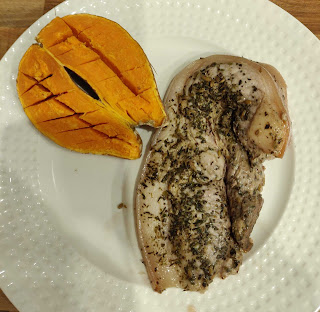 |
| Served with a side of sweet potato. |
Thanks to Wonderbag for the complimentary bag to put to the test. All opinions are honest and my own. Please note that this post includes affiliate links which cost the buyer nothing additional but help support the running of this site..
